
Awhile back, when I was really getting into woodworking and deep into getting my shop completed, my mother brought up an idea to me about making her a dining room table. Over the next months, while I was still completing my shop, we would bounce ideas off of each other and eventually we decided to sit down and design the table. We got all of the measurements finalized and I got to drawing up some plans. After those were done I was able to get a materials list together and know exactly how much lumber I needed. She decided to go full steam ahead into it and I got going. Here is how it went.
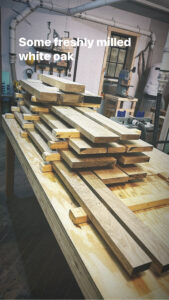
This is the only picture I have of the milling process which I used for a social media story (hence the caption in the photo). It was about 45-55 total bf of lumber give or take a few bf. I will say my planer got some serious work during this process. Due to it being White Oak, which is on the higher side of the Janka rating, I had to take a 1/32nd of an inch off at a time. This turned out to be a lengthy process which totaled many hours.
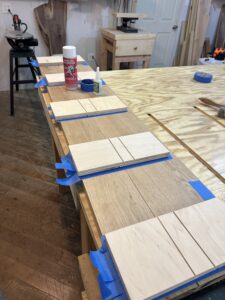
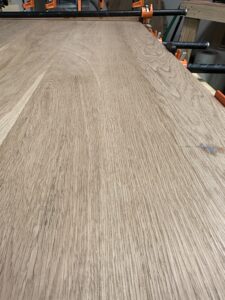
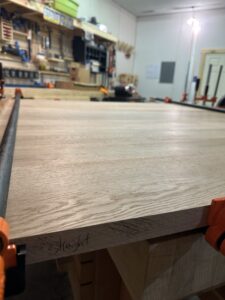
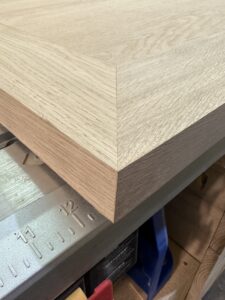
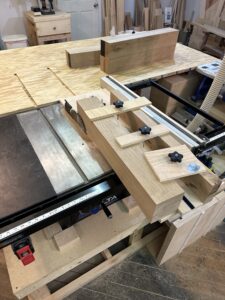
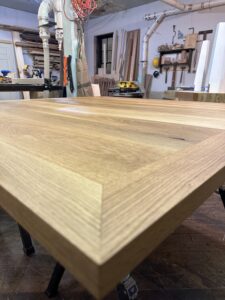
After the initial milling process, I had to join the table top boards together. I knew I had to get a perfectly tight fit so I decided to go with this joining method on the table saw. I used pieces of scrap which I CA glued to the oak boards while using painters tape. I then ran the joint of the two boards together through the table saw. This created a perfect seam down each board which can be seen above. Other than color/grain variation, the seams were almost unnoticeable.
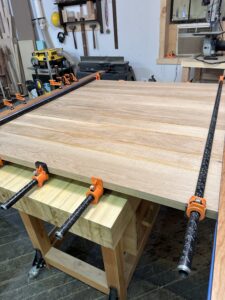
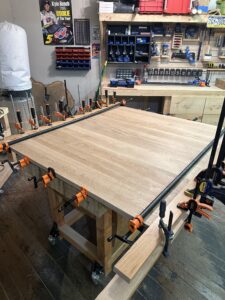
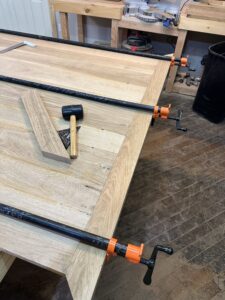
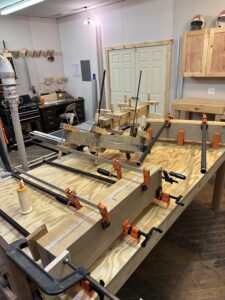
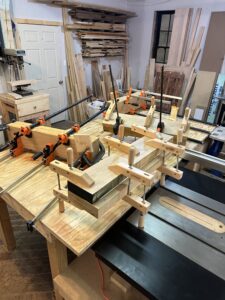
I then glued up the boards and made them as flat as I could with no height variation in the boards. You can never have too may clamps!

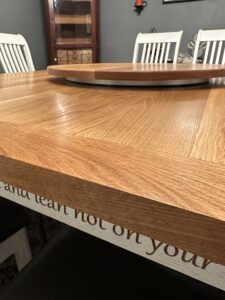
I then added the mitered edge around the border of the top. This required a lot of patience and plenty of double checking of measurements. This was quite nerve racking because at this point, I did not have much extra lumber incase of a mistake. I did have one extra piece that I was able to use due to a slight error but in the end the top was together! I added white oak wood putty to some minor blemishes in the seams and let it dry.
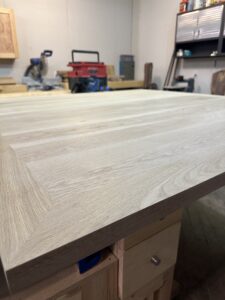
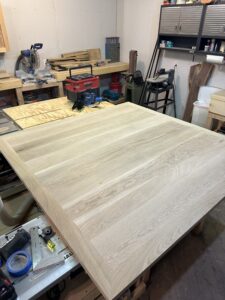
Over the next multiple days I had a couple dates with my belt sander. Due to the size of this top, there was no way to put it through a planer or drum sander so I decided to all of the initial sanding by hand to get the top completely flat. This took about a total of 6 hours to do because I did both the top and bottom.
The legs were the next step of the project. I used 8/4 and face glued them together to be able to get a size that could be finally shaped on the table saw and planer.
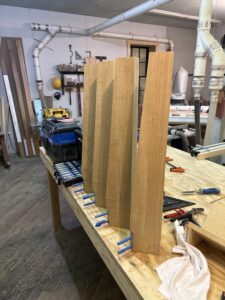
Next, was to taper the legs after they were square. I had to create a taper jig that was able to be used in my table saw. Each leg needed to be turned 3 separate times to get the final product. After sanding with 80 grit, all 4 legs were completely identical. I then had to add the hardware on them so they were able to be removed. I did this by adding 2 hangar bolts to the top of each leg. Due to them being square I had to put a 45 degree chamfer on the top so they would sit properly in their inserts on the underside of the table. I had to create a couple different jigs for this to be able to hold each leg properly while making sure the bolts were perpendicular to the surface of the leg.
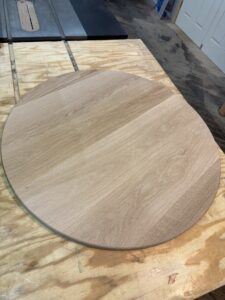
After that I made the turntable that would sit on the top. I made it by using a Milescraft circle jig and a router. Put an edge profile around it and sanded it up to 220 grit.

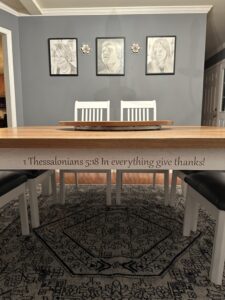
I then had the pre-painted aprons sent to Austin over at 192 Custom Creations to get the Bible passages my mother wanted, CNC’d on them. I then painted the legs that evening as well. I attached the aprons using small angled metal plates. then I added the supports the legs would physically attach to. Once it was together, with my fathers help, the table was flipped over and ready for the tops final sanding. I started at 120 grit because I already sanded to 80 grit in the initial sanding that I did on the belt sander and orbital sander. I went up to 220 grit with multiple water pops in-between.

After the sanding process, I made sure all dust and debris was gone from the table using multiple rags and tac-cloths and starting the finishing process. I started by using a pre-stain, let it sit for 15 minutes, wiped it off, then was ready to apply the stain itself. The stain used was Natural colored stain from Minwax. I let that sit for a little over a day and then applied the first coat of satin polyurethane. Then I sanded that first coat at 220 grit and put another coat on.
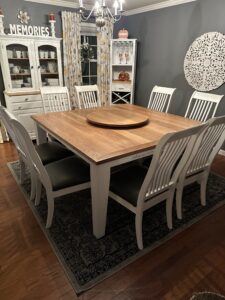
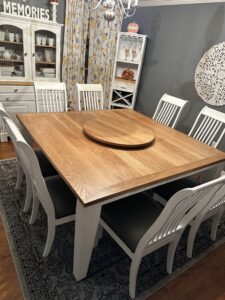


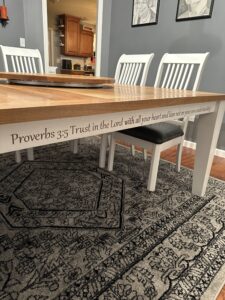
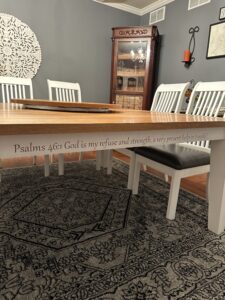

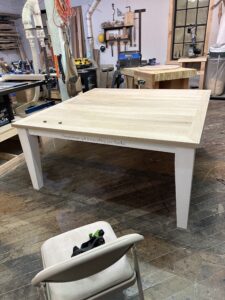
This is the final product. The chairs were refurbished and reupholstered by my mom which she did a fantastic job on. The pictures do not do a justice on how well this turned out. Overall, I have about 50 hours into this project. I also cut it extremely close to the due date (Thanksgiving) by getting it there two days before. I had many questions about the turntable and if it is permanent. It is not permanent it simply sits on an aluminum bearing system that allows it to spin freely. It can simply be picked up and moved off of the table. This was the longest project I have worked on because a lot of what was done was new to me and I had to do some practice cuts on pieces before doing the final cuts to make sure what I was doing was correct.
I did not use any outside plans for this table. This was solely designed and drew up by my mother and I. I want to give a huge shout out to Austin at 192 Custom Creations. Without him and his father, this project would not have been able to be as unique as it is. The CNC he uses is top of the line and I would trust him with any project. Head over to his Facebook page to check out his work!
Thank you everyone for reading another blog of mine and God Bless!
Jesse Rodgers
JR Woodworks